
Christmas Pom Pom Pillow - From Placemats
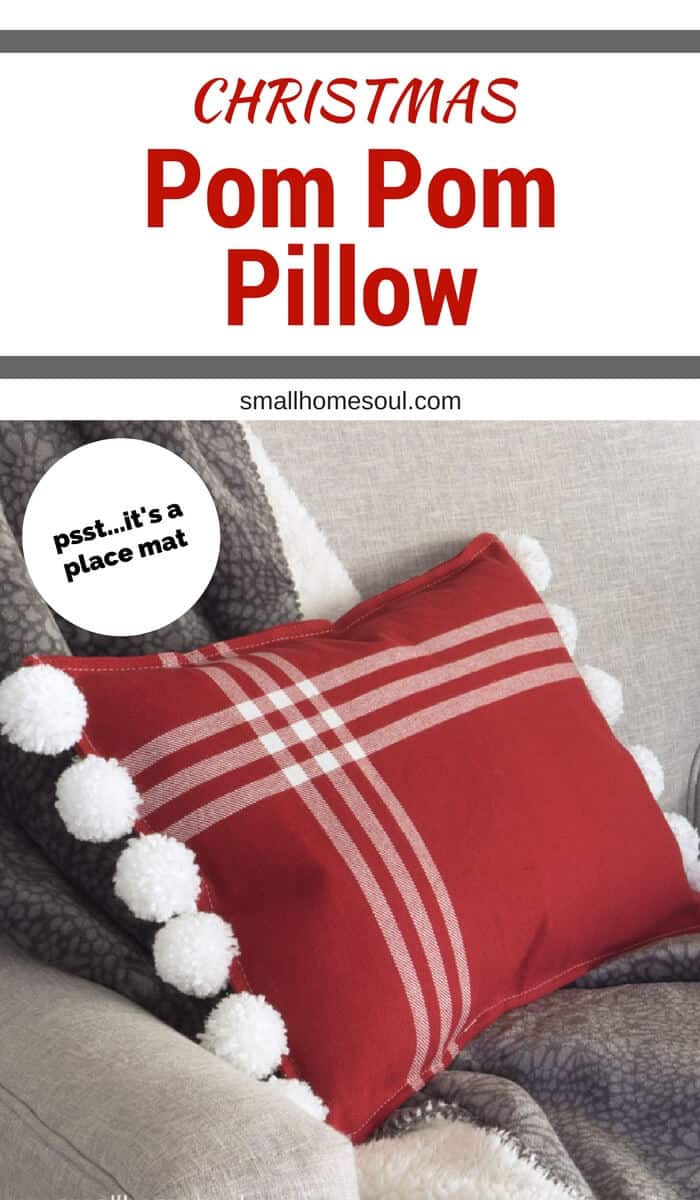
Have you priced Christmas Pillows lately? The good ones are pretty expensive, and the cheap ones are, well, cheap. But you can get a quality pillow for little money and a little effort. This Christmas Pom Pom Pillow cost me less than $10 and it's as good a quality as you'd find in a department store.
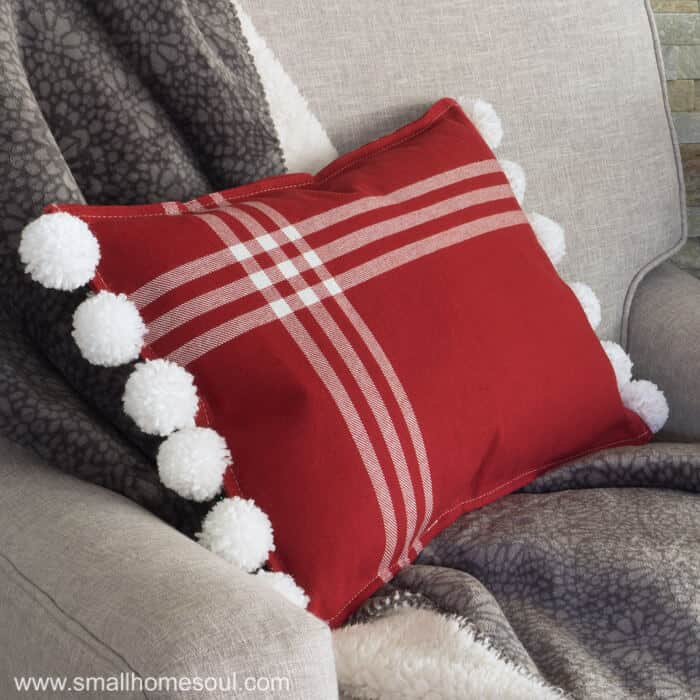
My secret is that I made mine from two Christmas place mats I bought at Target last year. Add in a skein of yarn for the pom poms and it's a low budget project with a big budget return.
Just like when I created my 2x4 Patio Table, I'm participating again with Remodelaholic but for a #CreativeChristmas Challenge this time. We were challenged to create anything Christmas related and a bunch of us accepted her challenge.
There are a ton of great projects from the bloggers who participated; so check out their projects at the bottom of this post. So much inspiration to get you in the crafting and diying mood!!!
This post contains links to products, if you purchase something after clicking on my link I may earn a small commission (at no extra cost to you).
Christmas Pom Pom Pillow Supply List
- 2 Cotton Christmas Placemats
- 12 2" Homemade Pom Poms (Or purchase similar)
- Scissors
- Sewing Machine
- Needle
- Thread
- Polyfil or a Cheap Pillow Insert
- Chalk
Gather your supplies
Step 1: Make 12 Pom Poms.
Click over to this link to learn how to make Perfect Pom Poms every time.
Step 2: Evenly space out the pom poms.
Evenly space ½ of the pom poms on either end of the backside of one place mat.
Using a piece of chalk make a mark where each pom pom will be sewn.
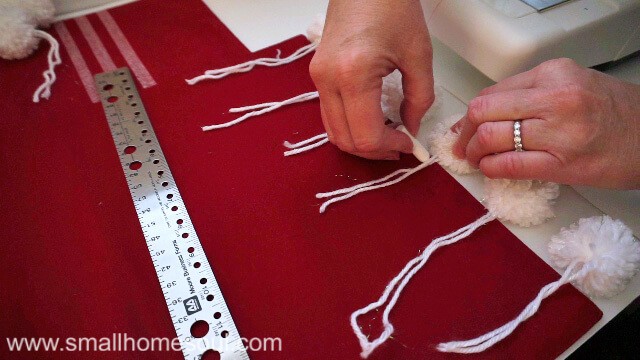
Step 3: Mark and hand stitch the pom poms.
With the placement marked hand stitch the long tie end of the pom pom in place. Be careful not to let the thread show on the face of the place mat.
If this is a bit confusing you can see the full process in the video below.
This will secure the pom poms during sewing. To keep them from slipping wrap the long end around a pin and secure it to the place mat. Do this on both ends.
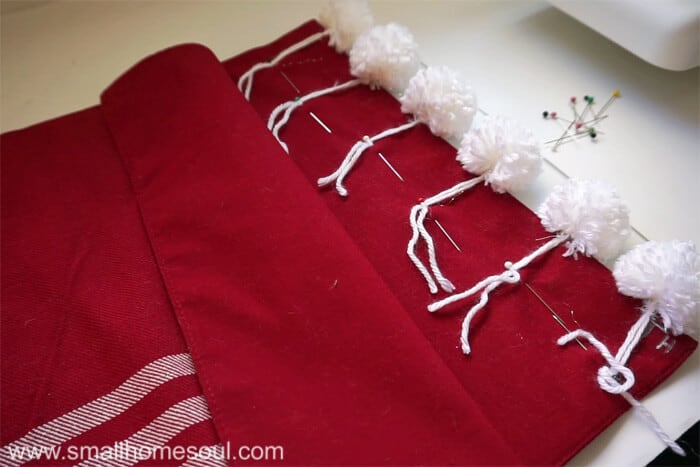
When the pom poms have been stitched on both ends place the second place mat on top and pin together. The backsides of both place mats will be together.
Assembling your Pillow
Step 4: Sewing the pillow cover.
Lay the other place mat on top of the first which has the pompoms and pin together.
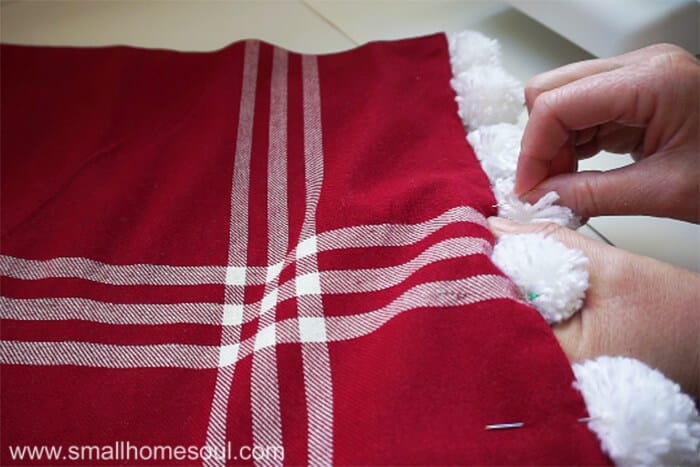
Top stitch the short ends approximately ¼" from the edge. Keep your pom poms out of the presser foot and needle. And keep your finger safe as well.
If you've ever had your finger pinched or knocked by that fast-moving needle tightening screw (what's it called?) you won't make that mistake again 🙂

Remove the pins that held the long tails of the pom poms and sew one long end from side to side. Sew the other long end leaving an opening of about 5".
Step 5: Fill your pillow.
Grab your polyfil and get to stuffing your Christmas Pom Pom Pillow. You can either buy bagged poly-fil or use some from a cheap bed pillow (don't we all have some of those?).
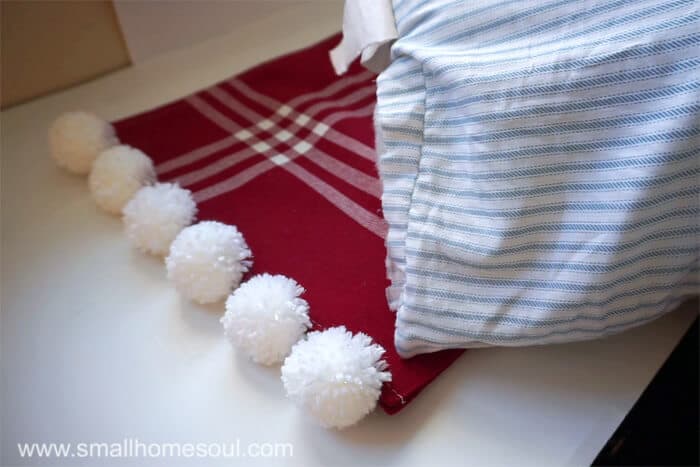
After your Christmas pillow is stuffed to your liking push the stuffing in quite a bit from the opening and pin the edges together. Take it back to the sewing machine and stitch that section shut.
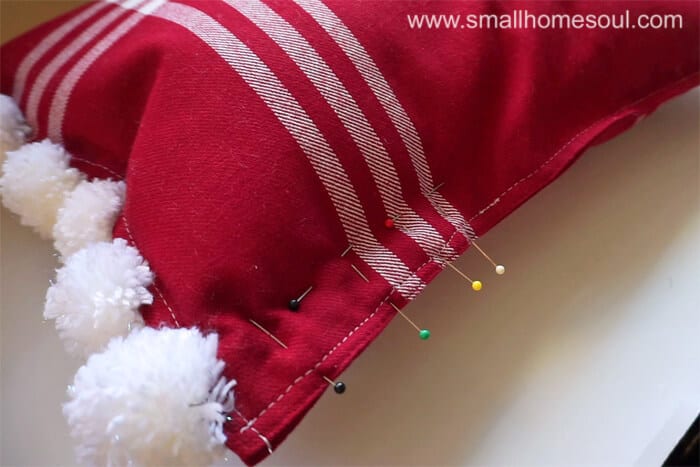
You might have to man-handle the pillow a bit to get it under the presser foot. I had to rip mine out and sew it a second time because it slipped.
After that final corner is stitched shut move the batting around and into the corner. And that fast you have a beautiful Christmas Pom Pom Pillow that would cost you at least $35 if you bought at a department store.
More Christmas Projects
Wire Art Christmas Tree - Button Ornaments
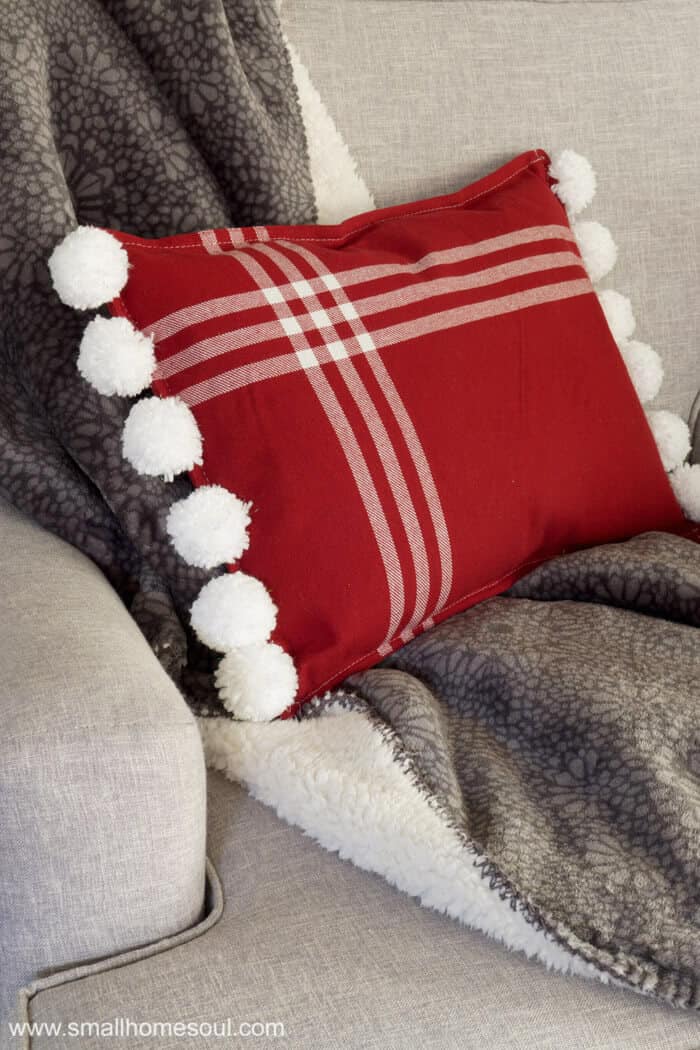
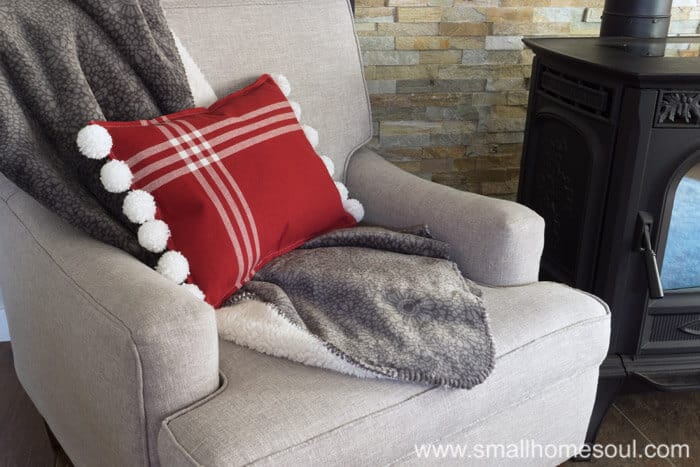
Pair it with a comfy throw and you're ready to cozy up by the fire and wait for Christmas to arrive.
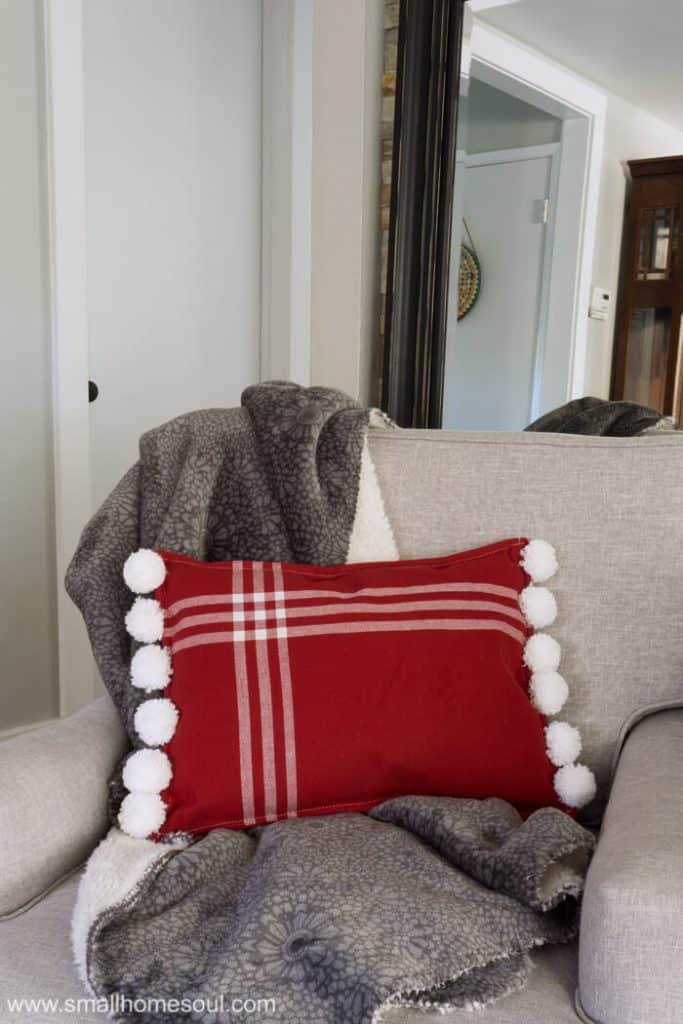
Love It, Pin It!
Thanks again to Remodelaholic for getting us crafting for Christmas! Visit my challenge partner's projects in the links below
DIY Christmas Gifts and Decor
Christmas Pine Hoop Wreath | This Mama's Dance
Gingerbread Man Candles | Nourish and Nestle
Wire and Glass Chandelier | Home with Cupcakes and Crinoline
Christmas Scroll Wall Art | Grace In My Space
Lighted Wood Trees | Frazzled Joy
Crocheted Christmas Hat | Luz Patterns
Christmas Card Photo Display| Hertoolbelt
JOY Porch Sign | Ginger Snap Crafts
Folding Bar Cart Table | Everyday Party Magazine
Wood and Burlap Christmas Sign | Leap of Faith Crafting
Wood Block Snowman | Anika's DIY Life
Holiday Candle Wrap | Dragonfly & Lily Pads
Christmas Pom Pom Pillow | Girl, Just DIY!
Handlettered Wall Art | Smiling Colors
Wintry Silver Dollar Store Christmas Tree Decor | Remodelaholic
Marbled Christmas Ornaments | Doodlecraft
Scrap Wood Inlay Ornaments | The Ugly Duckling House
Woodburned Wood Slice Ornaments | Sisters What
Flocked Pine Cones | Practical and Pretty
Abstract Monogram Ornaments | Domicile37
Concrete Christmas Ornaments | The Palette Muse
Wood Slice Deer Ornaments | Our Crafty Mom
Vintage Gumball Machine Ornaments | Beth Watson Design Studio
Etched Glass Ornaments | Just Call Me Homegirl
Unicorn Inspired Christmas Tree | The DIY Mommy
Driftwood Reindeer Ornaments | Sustain My Craft Habit


Hi Toni! I featured these pillows at the 2017 Holiday Blog Hop. Happy Holidays!!
Aww, thank you Victoria, I'm so glad you love it!
Gorgeous! And yes, cute pillows ARE expensive so this is a great idea to save some money!
🙂 gwingal
Thanks Nikki, I'm so glad you think it's gorgeous! That made my day 😀
Toni, this is so cute and your tutorial is fabulous. I hardly sew but I think this is doable. 🙂
Stacey, you can do it!! Using a premade placemat made it so easy.
I love a good sewing project. Such a great idea to use placemats for making the two sides of the pillow! And the pom-poms are a really sweet touch.
Hi Sonja, I think the pom poms really make it special.
I love this pillow Toni! I have an obsession with all things Pom Pom! Great video!
Hi Michelle, I'm so happy you love it. I just packed it away with the rest of my Christmas stuff but now wish I'd kept it out to enjoy the whole year. I'll have to make another one soon.
I love it Toni! I love how you added the pom poms! They are the perfect touch!
Thank you so much Anika, now I want to put pompoms on everything!
Love making pillows from placemats! So many options. The pom poms are a nice addition!
I'm kind of hooked on pom poms now 🙂
I've collected napkins and placemats to turn into things like this, but I never find the guts to actually do it! And I LOVE the pom pom addition! Maybe I'll finally give it a shot this year. Great project.
Thank you Sarah, yes you need to put those to good use. Especially the placemats where all the cutting and measuring is done for you. I think the pom poms really take the pillow from ok to fab 🙂 Now I want to pom pom all the things!
A placemat!! What an ingenious thing to use for a pillow! So creative and cute. Thanks for a great tutorial!
Thanks Amy, I love that there's no measuring or cutting, just put them together and sew. And the design options are endless.
Love it Toni!! I'll be watching for some cute placements!! XO -- Susie
Yay, I'm glad you like it. Those place mats made making that pillow a breeze.
Toni this is so cute and your video is awesome!!!!
Thank you Michelle, that video was almost the death of me. Poor lighting caused me many hours in the editing room LOL
Toni, I love how you combined two simple ideas to make an adorable Christmas pillow!
Thanks Lorene, and thank you for all your help on the challenge, it's always so fun working with you ladies!
Oh my gosh...I love that pillow...love anything with a pom pom! And that you made them with placemats!! Brilliant!
Hi Lynn, thanks so much! I haven't made a pom pom in years but I'm sort of hooked now 🙂
It's so cute! I love how on trend it is right now too.
Yay Sarah, I am usually way behind the trends. I'm so glad you like it!