
Coastal Drink Coaster Makeover - Outdated 70's to Beachy Chic
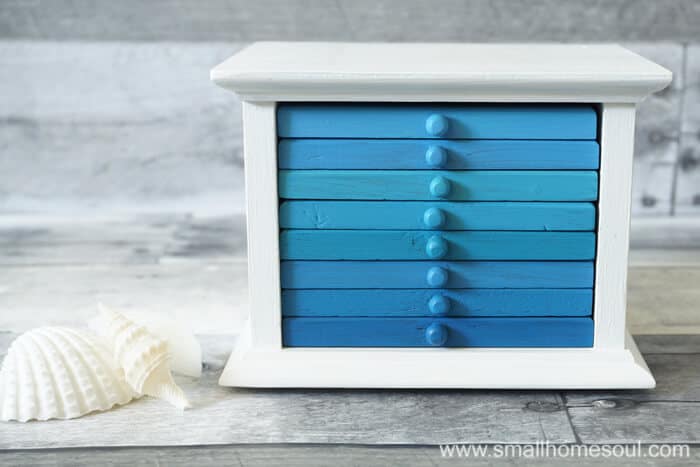
Everyone loves a good deal, and when it's another 50% off that's even better. But when it's outdated you know you'll have a little work to do before it really shines. When I saw these at the Hospice Thrift Store I knew I had to have them. I might be dating myself just a little but we had a set of these in the 70's when I was a teenager. I'm not sure whatever happened to ours but this set is getting a Coastal Drink Coaster Makeover.
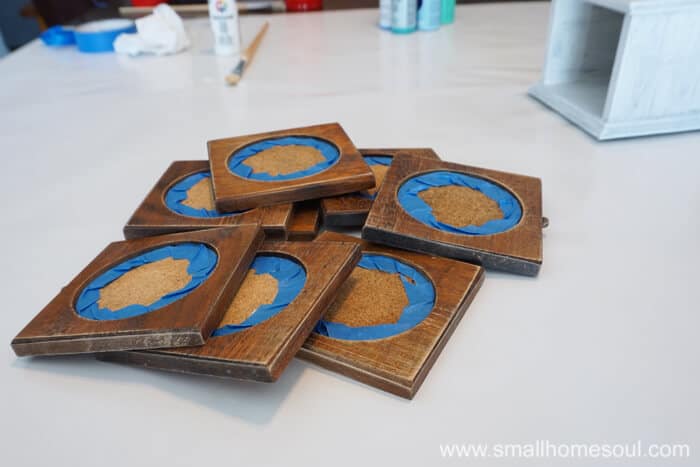
If you're too young to remember these, here's what they looked like before I started. I got this set for a whopping $1.50...Score 😀

I already mentioned I bought these from a Thrift Store so I decided to use them for the monthly Thrift Store Decor Upcycle Challenge I participate in with a bunch of other talented bloggers. Make sure you visit their projects that appear at the bottom of this post.

The Rules:
- Upcycle an item(s) from a thrift store, resale store, or garage sale into a new piece of decor.
- There's no monthly theme.
- There's no budget to stick to.
Meet the Hosts
Amanda | The Kolb Corner Kim | Made in a Day
Maureen | Red Cottage Chronicles Pili | Sweet Things
Debra | Shoppe No. 5 Jeanie | Create & Babble
Kimm | Reinvented Kathleen | Our Hopeful Home
Shirley | Intelligent Domestications Angela | Simply Beautiful by Angela
Michelle | Our Crafty Mom Ali | Home Crafts by Ali
Michelle | Michelle James Designs Kimberly | Farmhouse Made
Molly | Just a Little Creativity Lora | Craftivity Designs
Colleen | Life on Kaydeross Creek Toni | Girl, Just DIY
Make sure you follow our board on Pinterest for more upcycled decor inspiration!
This post contains affiliate links for your convenience. If you purchase an item after clicking on my link I may make a
small commission, at no extra cost to you.
Supplies for a Drink Coaster Makeover Project
- A set of drink coasters you want to makeover
- Sandpaper or these are easy to use
- Craft Paint in varying shades of Blue
- White Craft Paint
- Craft Paint Brush
- Polycrylic Spray for Protection, but I used Hemp Oil
- ¾" Painter's Tape
- Plastic Paint Pallet to mix the paint
I don't have much coastal decor decor in my house but I've done a few projects, besides this one, that have a coastal vibe. It was really easy to give thrift store waste basket a nautical vibe with a new purpose. Did you know you can paint a rug, in coastal colors? Recently I joined a group of bloggers to share 13 creative ideas for coastal decor. If you love coastal it's a must see.
Project Starters
To give this retro set a coastal vibe I started by sanding them all down to get the years of crud off and to rough up the finish so it would take the paint better. Sanding without taking off all the finish is called "giving it tooth." I'm not sure where that expression came from, maybe it helps the paint bite the wood? Who knows 🙂
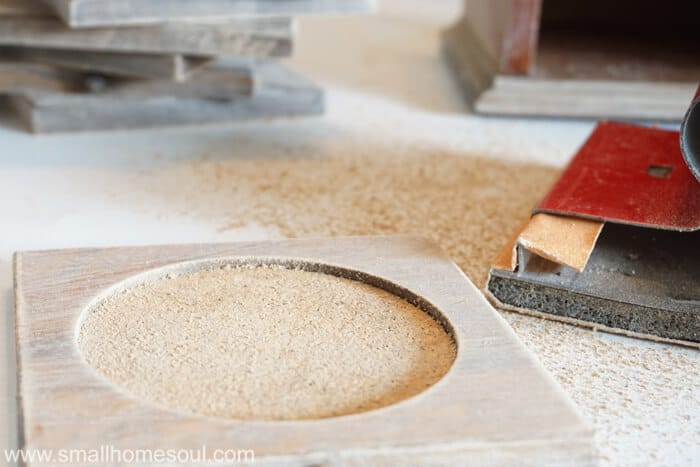
The sander you see in this picture I got at the same store for $0.25 (half off, remember). Sometimes you just need a handy little sander that doesn't bend. I wanted to try it out and I like it much better than wrapping the sandpaper around a block of wood.
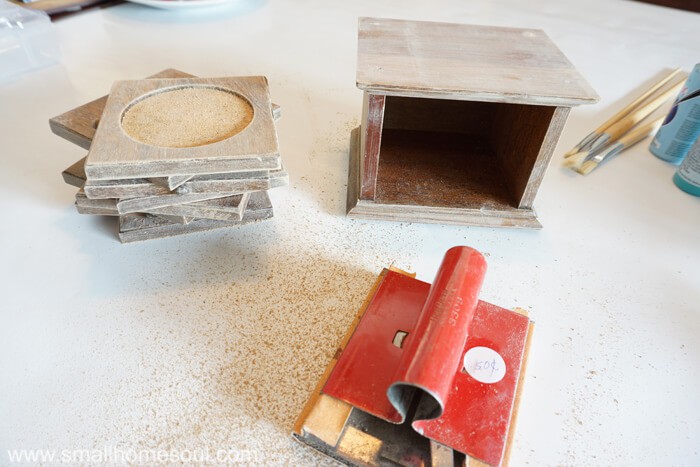
Once they're all sanded wipe them down with a damp cloth and let them dry before painting. I carefully sanded around the knobs so they'd take the paint well also.
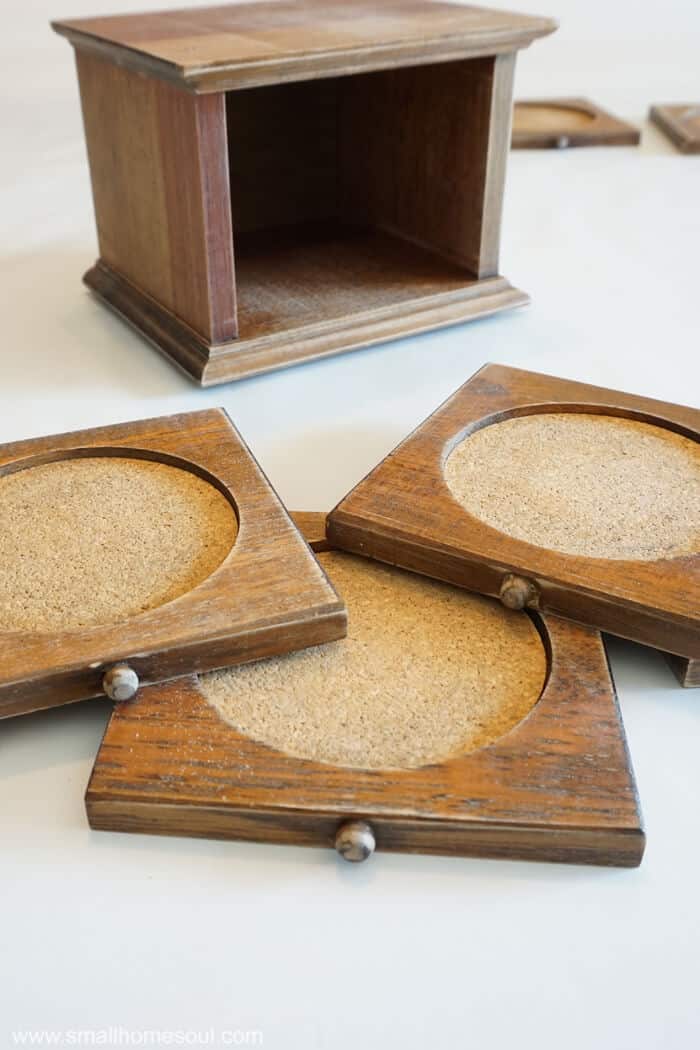
Prepping for Paint
Before you start painting use a thin length of painter's tape to protect the cork. Mine were dark around the edges from years of use and I was pleased that when I pulled off the tape it also removed some of that dirt? grime? soda? not sure but I'm glad it's gone.
First I painted the body because I knew that would take at least two coats of white. Actually I think I ended up doing 3.
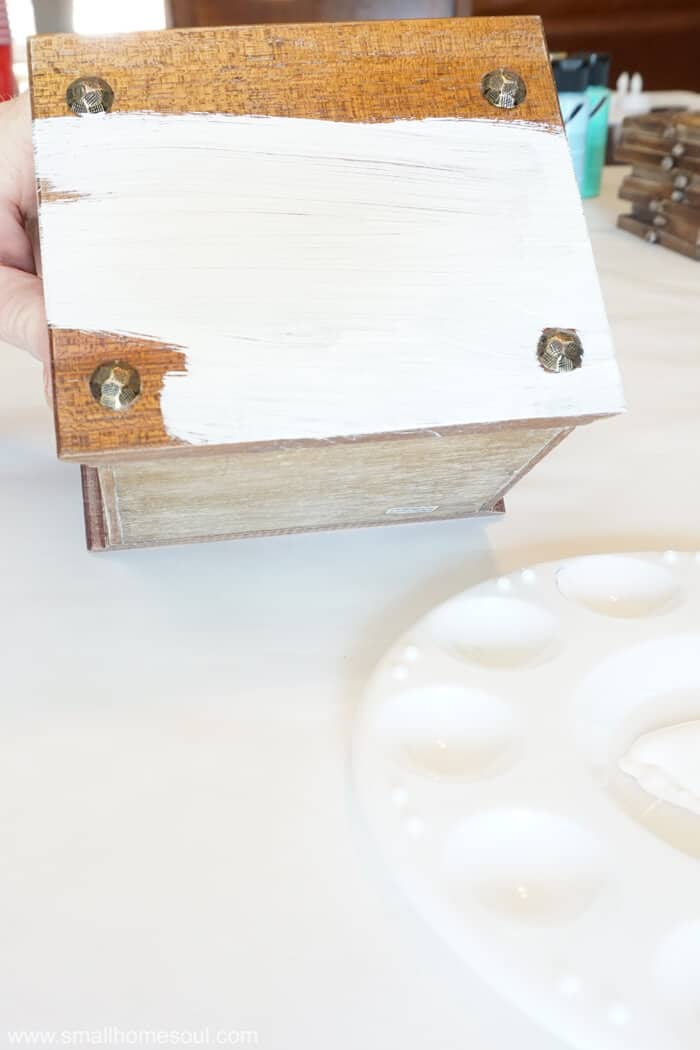
Painting the inside was kind of difficult and it didn't have to be perfect. I wanted to make sure the inside was white so it all looked beautiful when some of the coasters were in use.

Getting Creative with Color
Here is where you can get creative. I wish I could tell you what shades I used for each but I got to mixing and lightening so I had a good variety. I wasn't going for ombre, just variety in a pleasing pallet,
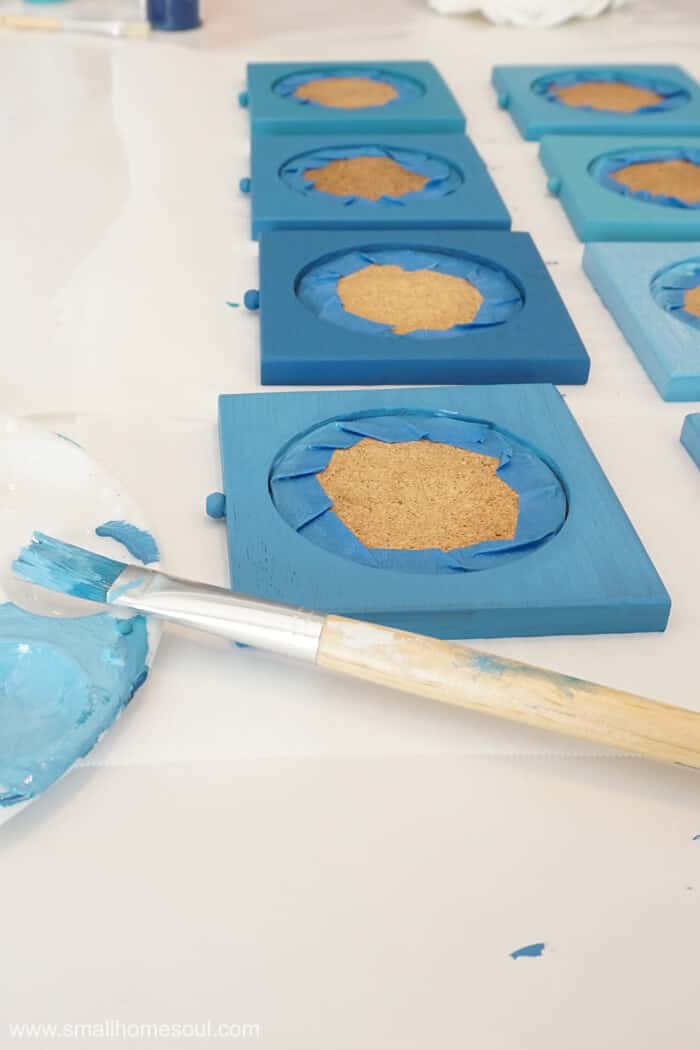
Each coaster got two coats of color while I was working on them. I painted the bottom first and then the top. Then I blew on them to get them dry enough for another coat. I set them on parchment paper to dry.
To protect them I used Hemp Oil. I learned about that trick from my friend Lisa at The Purple Hydrangea and that's what I used when I painted the Mid-Century Modern Nightstand. You just need a little and it goes a really long way. Rub on just a little and then after 24 hours buff it to remove any remaining. You can see how it changed the sheen on the paint below.

Once it's all dry it's time to stack them back into the holder and enjoy them with a nice glass of lemonade or tea. Or your beverage of choice 😉
This is how I used to stack them up when I was a teen, like a tiny staircase. Some things never change I guess, I'm still a kid at heart.
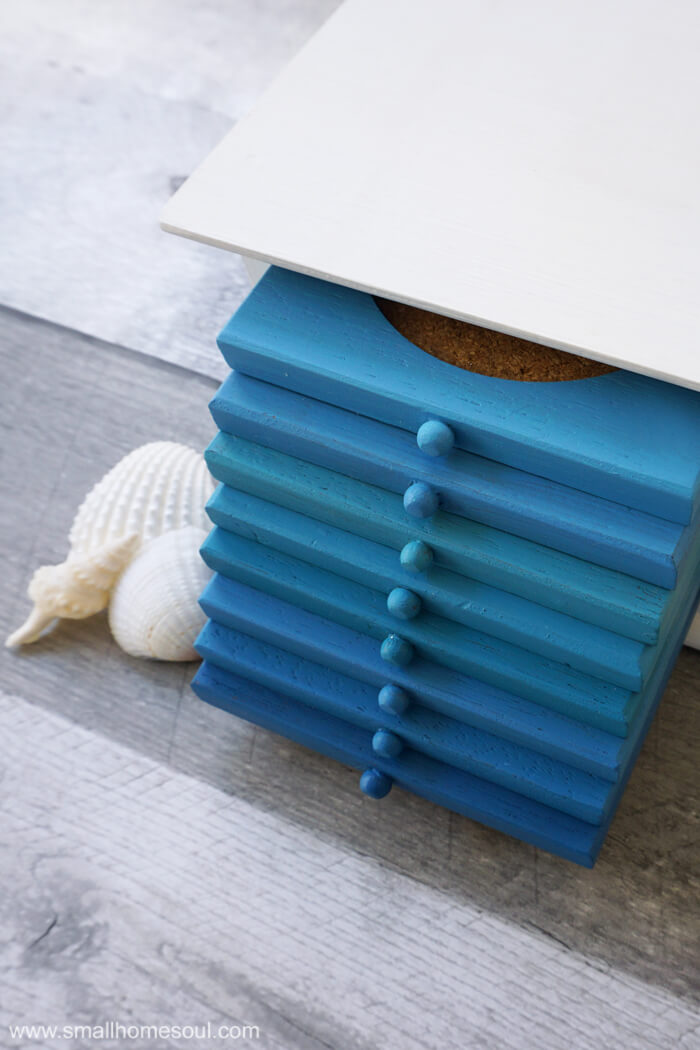
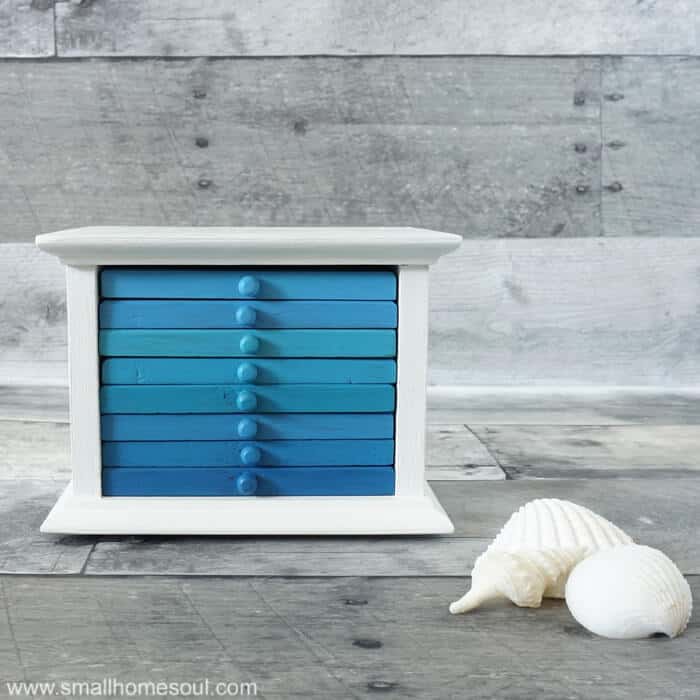
The only thing I wish I could change is that the little knobs are not even (OCD in the house). That was bugging me while I worked on this drink coaster makeover but now that I'm not looking at it all the time I can live with it.

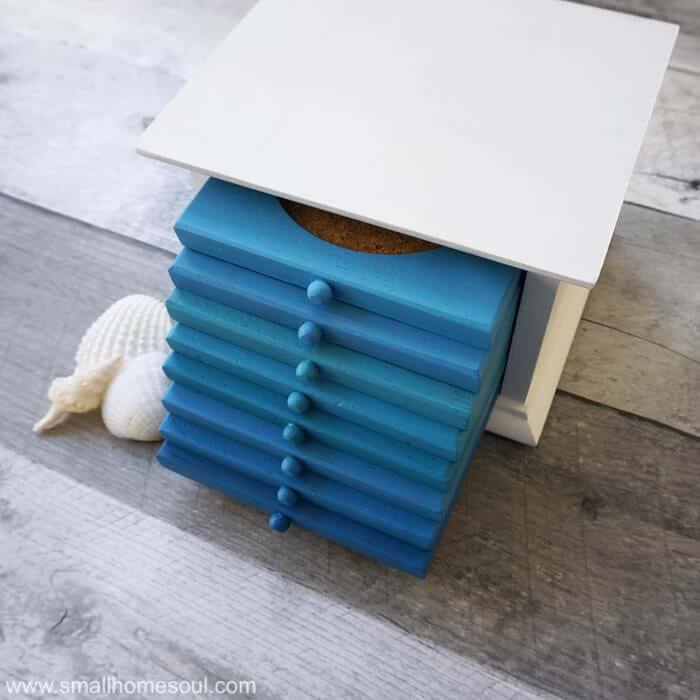
These turned out awesome, and I bet on next thrift store trip you'll be looking for some of these to do your own drink coaster makeover. Am I right? Not a coastal fan.....what colors would you choose?
Pin It for Later!
And now for more thrifty goodness!
Check out what my fellow upcyclers created below!

Really a cute idea. I would not have given those coasters a second look before the update, but now they are ready for a new life. Happy Weekend, Kippi
Hi Kippi, now when you see a set at the thrift store you can snatch them up and put your own spin on them.
These are so cute! I love the blue color you used!
Thanks Meg, it was fast and easy to give new life to these old coasters.
Super smart and cute upcycle, Toni! Love the different tones of color you used! pinning!
Thanks Julie, I had fun mixing the colors to create a slight ombre affect.
This is so pretty ! I have pinned it to my coastal board.
Maria
What a wonderful and practical idea!! I love how you can just put them all away!
Thanks Yuni, they turned out so much better than I envisioned. I like that they have a little house to contain them.
Super cute and I love the new colors and look! Great project, Toni!
Thank you Janine, purple is my favorite color and it was time to add a little of it to my decor.
I love the colors you chose! Pretty much everything I made/upcycle is in some shade of blue. =)
Great idea and I love the color combo. I have an exact set of these coasters I picked up at a garage sale for $.50. Now I know exactly how I want to make them pop!
Toni these are so fun. I love, love the various shades of blue. That was brilliant and really give the whole thing more interest. The white body is perfect for the blue coasters. It is lovely!
Super cute makeover! Love the colour that you chose and sure does have a lovely coastal feel to them!
I LOVE this. Just the right amount of detail on something small. It makes it so pretty 🙂
Mixing paint is so much fun and this makeover is evidence of that! Love those beautiful blues! I remember these well, from the 70's! I see these all the time and pass them up but now I want to makeover a set! I really want one of those sanders and for .25!!
I love the paint treatment you gave the coasters and the color itself. Great makeover.
Love how they ended up!! The color variation gives it the perfect touch!! They look so refreshed and fun now!! Remind me of a white sandy beach 🙂
I remember these from way back when.....LOVE what you did with them! Great color combo and a much better looking set of coasters now for sure! Never heard about using Hemp oil! xo Kathleen|Our Hopeful Home
I see these all over and always pass them up because they're usually horrifying. LOL I LOVE the color you went with - so adorable!
Thanks Kim, you should pick up a set and put your lovely farmhouse spin on them 🙂
Great makeover! Love how you transformed it. The wonky knobs reminds you its been around!
Thank you Victoria, they don't even look the same now, thankfully 🙂
Love the color variations on the set. They give it so much more character and interest. And it's truly beachy chic. Great job, as always! Susie from The Chelsea Project
Thank you Susie, I really love all the colors of the ocean and this easy paint job really brought that set out of the 70's 🙂
It turned out beautifully! I have never seen one of these before. Not going to lie, if I had seen this on a shelf I would probably have no idea what it was haha. I didn't notice the knobs until you mentioned it but I actually really like the character that it adds! I'm going to be on the lookout for one of these for sure 🙂
Hi Angela, you must be just a few years younger than me 😀 The knobs don't bug me now that I'm not staring at it so closely LOL
Your makeover looks great! I like how you made each one it's own color but still within the same family.
Thanks Amanda, I mostly used different shades of paint but a few I had to reject, that's when I started mixing my own from shades that worked. It was fun and reminded me of being a kid and experimenting.